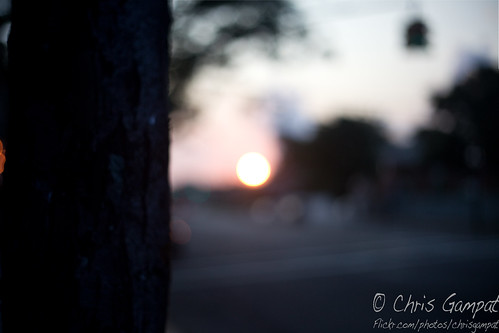
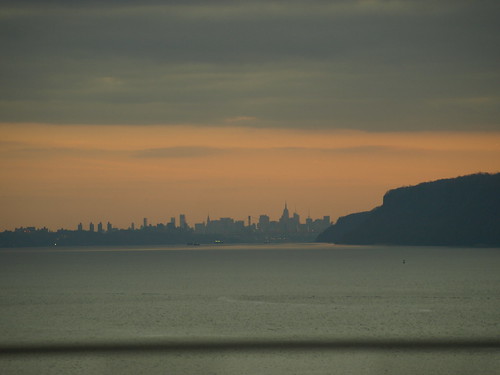
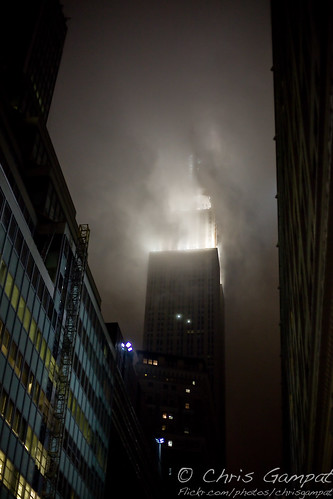
A rainy day may ruin your motivation to go out and shoot, but it shouldn’t necessarily ruin your camera and picture taking abilities. Even if your camera isn’t waterproof, weatherproof or weather-sealed there are still ways that you can go out into the rain and shoot to your heart’s desire. In truth, you can capture some gorgeous scenes while you’re out in the rain.
More Tips For Shooting Concerts
We’ve talked before about the essence of concert photography and using video during a concert to supplement your stills. Now you’re at the point where you want to start shooting them more. You need to ensure that you’ll have great photos because the band may want to use them for their myspace or you’ll want to use them for your portfolio when showing clients. Here are some tips to help you start off. [Read more…]
7 Beginners Tips for Shooting Sports and Action
In sports and wildlife shooting, it’s all about getting that one particular moment that happens within a fraction of a second. Mastering the techniques to shooting sports will be able to help you progress as a photographer as those skills can be used in other forms such as photojournalism, weddings and street candids. My mentor, who has shot NY Knick games, has been kind enough to pass along some of his knowledge to me.
Here are 7 quick tips for those of you wanting to get better at shooting sports and fast action. Hint: You don’t need a camera that shoots 8fps like the Canon 7D, but it can help.
Note: Several of the photos in this article are from a recent trip to a Medieval Festival where the chance to really use the correct lenses and a better quality camera was presented to me. [Read more…]
Tips to Shoot Awesome Portraits
We all do portraits. It’s something that we learn how to do when we are first trained as photographers. Sometimes though, many portraits look the same after a while. Therefore they become boring to look at unless you find a way to make them fun and different than anyone else. Here are some tips to shoot that awesome portrait.
Break the Rule of Thirds
This rule is so extremely essential to creating interesting portraits. The rule of thirds is how us photographers are taught to compose our shots in order to make them effective and pleasing to the eye. If you’d like a more interesting shot, try messing with the way your viewer will look at the shot. In the above shot, she is totally off the rule of thirds. It shows her being relaxed, happy and totally serene/confident with herself. If you set up the rule of thirds composition lines on this shot you’d see that it doesn’t exactly meet the standards. On top of that, you’ve got the lines going horizontally as well as her arms and body going in the same direction. Slap on a black and white filter and you make this one really cool shot. [Read more…]
Tips For Shooting Sunsets
Shooting sunsets is something that isn’t as easy as one would think. Keep in mind that you can’t always be in the right spot at the right time to consistently be able to get those dreamy, beautiful shots. Also remember that sunsets only last for a little while at a time and that the sun continues to go down into the horizon until it isn’t visible anymore. With all this going against you, here are some tips for photographing those beautiful sunsets.
Shoot Wide, Crop Later
Shooting wide allows you to get a view of the entire sky. Depending on the timing, it can also show how the light is hitting the surrounding areas. If you shoot wide first, you’ll be able to fix the shot later in post-production where you can recompose how to wanted it to look. Most consumer zoom lenses close the aperture up as you zoom in. This can create an unbalanced shot depending on how you are metering what’s in front of you. In my experience, primes do the best in this situation.
Part of this also depends on your own positioning to take the shot. Similarly in shooting fireworks, your position to accomplish the type of shot that you want is critical because the sunset happens quicker than you’d think.
Set Your Depth of Field Correctly, Use Neutral Density Filters
While shooting your picture, keep in mind your vision. Do you want the entire sky in focus such as in the picture above? Or perhaps you’d like the sunset to be nothing else but blurry and beautiful bokeh like the first shot in this posting. Either way, figure that all out is worth it in order to save time and getting your shot perfect.
Additionally, you may want to try a neutral density filter. ND filters allow for a shallower depth of field. If the sunset is above water, the ND filter will allow for a slower shutter speed in order to achieve a really slow and milky water effect. Other ideas could be perhaps setting your camera to take the picture at different temperature or exposure brackets. When it’s all done with, you can combine the photos in Photoshop to look exactly the way you want it to. While ND filters will slow down your shutter-speed, generally try to keep it fast enough to not get an overexposed picture or the sun trailing. Additionally, shoot at the widest aperture that you can.
You Don’t Always Need the Sun To Make a Nice Shot
Yes, despite the fact that you are shooting a sunset your viewers can know that you are doing it without shooting the sun. In the above two shots you don’t see the sun at all but you can easily tell that the sun is going down. Instead, the focusing is on different areas that work for the shot because of positioning and saturation of colors. Everyone that looks at those shots always says, “Nice sunset.” or something else along the lines.
If You Can’t Get the Sun, Get the Surrounding Sky
A great example of this is what you may have seen in the news recently with the clouds. Every now and then, the sky will literally turn into a pinkish color that is very saturated and almost orangish-red. We get this every now and then in New York City and it’s quite lovely but also very scary too because you sometimes don’t know what is really going on. But if you just shoot the sky with buildings in front or trees of some sort you can achieve a very lovely shot.
What About Your Tips?
Do you have some sunset tips to add? Let us know in the comments or feel free to share your shots in the forum.
Capturing Your Dog on Camera
For the dog lovers out there, you’ve got to be able to appreciate some of the expressions your dog makes and just how much dog photos make you smile. I consider my friend Geoff Fox, the meteorologist over at WNTH-TV to be an expert on the subject. Here are some tips from Geoff that I’ve learned and some tips that I’ve incorporated in from my own experience. [Read more…]
Tips For Shooting Portraits of Timid People
“I’m not photogenic,” is what you hear from people sometimes, even if they know you’re a great photographer. There are people that are timid about their photographs being taken and sometimes we forget how to get around those problems. Here are a couple of methods that you can use to make people get over their self-consciousness and bring out the best in them. [Read more…]
Tips For Shooting Wildlife
No matter how excited we get, there are certain things we need to remember when photographing wildlife. This is especially true when you are looking for animals that are notoriously hard to capture on camera. Whatever you do though, you need to keep in mind that practice makes perfect and that perseverance will eventually get you that shot. Here are a couple of reminders for your reference. [Read more…]
10 Tips for Breaking into Commercial Magazine Photography
The following post on commercial magazine photography is by Atlanta based photographer Zach Matthews. Learn more about him at the end of this post.
Every amateur photographer who’s ever flipped through a magazine has shared the same fleeting thought: I could do this. I am this good. And who’s to say that’s wrong? With the advent of digital image-making, cameras have become not just tools to record and describe, but tools that teach. The mean of photographic quality has skyrocketed in recent years, as a casual perusal of Flickr or a photography hobbyists’ board will immediately illustrate. What, then, is holding amateur photographers back? Why aren’t they selling images to magazines and commercial clients? Why aren’t you?
The difference between a working professional and a dedicated amateur is fairly minimal these days, and it has a lot more to do with business decision-making than talent or equipment. A number of important differences jump immediately to mind, however. The way I see it, there are two types of professionals: full time, and everyone else (and by that, I mean you, too). The full-time professional starves his way to the top. Typically a full-time pro goes to photography school, where he learns darkroom techniques, film chemistry, light physics, and the hard, cold reality of living paycheck to paycheck for decades. Most full-time pro photographers share one thing in common: they’re broke. But not all. A sizable population of working professionals make a living at photography, and they do it with the same business acumen necessary to operate as any entrepreneur. They set up a shop, build a client list, hire employees, and above all, they shoot their tails off.
Full-time pros of my acquaintance in the outdoor photography world spend as much as 40 weeks a year in the field. In my business, that’s in far-flung locations, involving international travel, injections, passports, broken gear, and hard deadlines. It isn’t an easy job, and it’s a long climb to the top, but eventually these pros tend to top out and make a respectable living.
There’s only one problem: chances are, this isn’t you. Full-time professional photographers won’t be reading this article; they know the route to success, they are logging their hours as we speak, and they’re aware of the rules of the game. But here’s the question: would you really want to be a full-time pro? What if you could have all the benefits, including international travel (for money), access to the best locations (for money) and the respect and praise of your peers, sometimes even for money, all while keeping your day job? It’s not a bad option, is it? [Read more…]
Portrait Retouching in Photoshop
This is an excellent tutorial video for portrait retouching:
A video tutorial that takes a look at enhancing portraits using tools such as Liquify, adding catch lights, and skin tone adjustments by the numbers. For more free tutorials, visit www.radiantvista.com!